
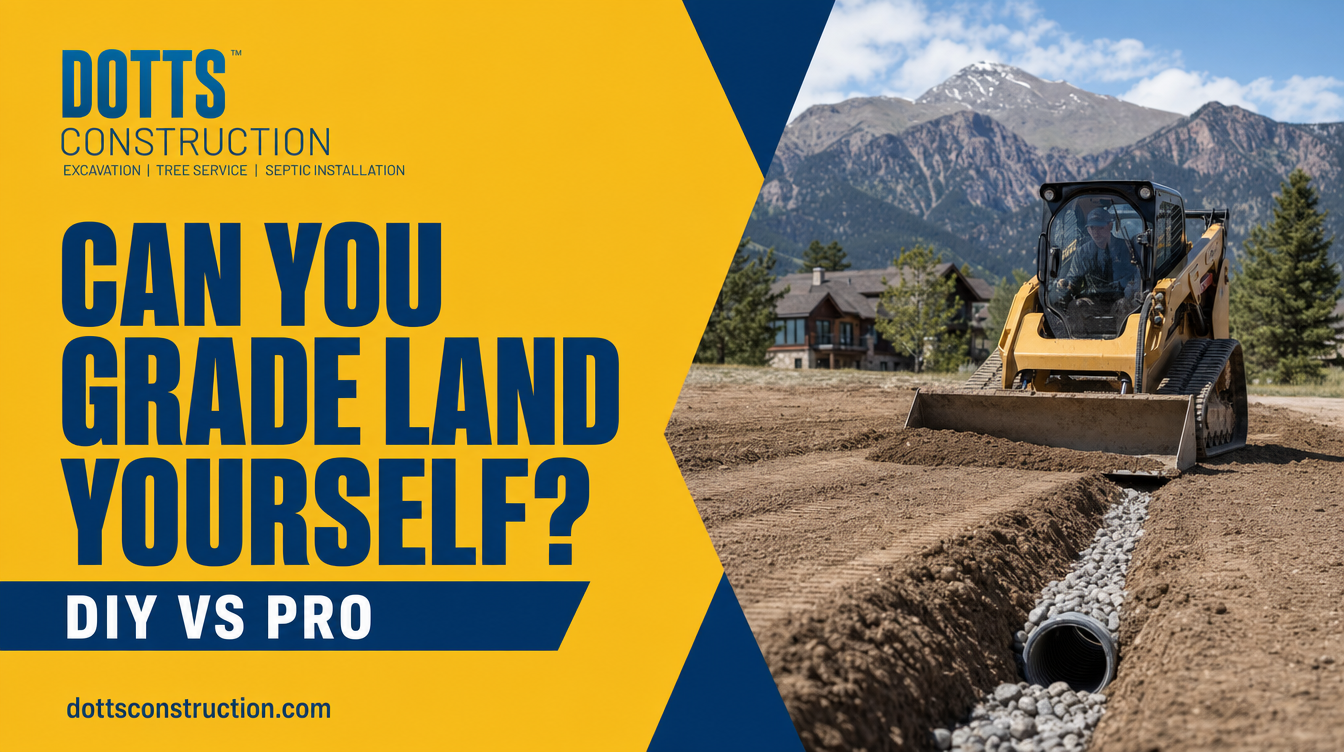
Thinking About Grading Your Land Yourself?
Yes, you can grade land yourself on small, straightforward projects. A minor yard slope fix with a shovel and topsoil is doable in a weekend. But for anything involving drainage correction, foundation prep, driveways, or significant elevation changes, DIY land grading creates more problems than it solves and can permanently damage your property.
What Is Land Grading and Why Does It Matter?
Land grading is the process of leveling, sloping, or reshaping the ground surface to control how water drains across a property. It is the foundation of every successful construction project, from driveways to home additions to septic systems.
When grading is done correctly, water flows away from structures, soil stays stable, and everything built on top of it performs as it should. When it is done wrong, water pools against foundations, erosion eats away at landscaping, and construction projects grind to a halt.
Here is the thing: land grading and drainage issues are the most common reason construction timelines fall apart. A poorly graded site means your contractor shows up, discovers the ground cannot support the work, and the whole project stalls.
Proper land grading is not just about moving dirt. It is about engineering water movement so that every structure on your property is protected from the day it is built.
Related entities involved in land grading: slope gradient, surface runoff, soil compaction, drainage swales, cut and fill, foundation elevation, and French drains.
What Can You Actually Do Yourself When It Comes to Land Grading?
Let us be honest about where DIY grading starts and where it ends.
Small-Scale Projects That Are Manageable Without Equipment
These are situations where a motivated homeowner with a wheelbarrow, a hand tamper, and a few bags of topsoil can get the job done:
- Filling a shallow low spot in a lawn (less than 3 inches deep, less than 10 square feet)
- Re-sloping a flower bed away from a house foundation with added topsoil
- Smoothing minor ruts left from foot traffic or light vehicle use
- Redirecting a small amount of surface water with a shallow channel and gravel
According to the University of Minnesota Extension, the general rule for grading near a foundation is a minimum 6-inch drop over the first 10 feet away from the structure. If your issue is that simple and your slope is only slightly off, you may be able to correct it manually.
Pro Tip: Before adding any soil near your foundation, verify there are no utility lines or buried pipes in the area. Call 811 (the national dig-safe hotline in the U.S.) to have them marked before you start.
When DIY Grading Stops Being Realistic
Here is where most homeowners underestimate the job:
- Slopes greater than 5 percent require compaction equipment to prevent future erosion and settling
- Projects near a foundation require precise elevation measurements to avoid directing water toward the structure
- Areas with clay-heavy soil compact unevenly by hand and create drainage problems months later
- Any site prep for construction (driveways, garages, additions, septic systems) requires laser-level accuracy and professional equipment
The moment you are dealing with more than a cosmetic surface fix, the risk of getting it wrong outweighs the cost savings of doing it yourself.
What Are the Most Common Land Grading and Drainage Issues?
Understanding the specific problems helps you diagnose whether your situation is a DIY fix or a job that needs professional excavation equipment.
Negative Grading Toward the Foundation
Negative grading is when the ground slopes toward your home instead of away from it. This is the number one cause of basement water intrusion and foundation damage in residential properties.
Signs you have negative grading:
- Water pools along your foundation after rain
- Basement or crawl space smells musty
- Efflorescence (white chalky deposits) on basement walls
- Cracks developing in foundation walls
The fix requires removing and repositioning significant amounts of soil, then re-compacting to create the correct slope. This is not a shovel job.
Flat Lots With No Natural Drainage Path
Some properties, especially newer subdivisions, have nearly flat lots with no natural slope for water to follow. After heavy rain, water sits on the surface for days.
The solutions include:
- Installing drainage swales (shallow channels that redirect surface water)
- Adding a French drain system beneath the surface
- Regrading the entire lot to create intentional slope toward a street, retention area, or drainage easement
Flat lot drainage correction almost always requires a skid steer or grader, engineered drainage plans, and in many municipalities, a permit.
Erosion on Sloped Properties
On steeper lots, the problem flips: too much slope causes topsoil to wash away during rain events. This is especially common on properties that have been recently cleared of trees.
Erosion on a freshly cleared site can remove several inches of topsoil in a single heavy rain event, according to the USDA Natural Resources Conservation Service. Once topsoil is gone, the subsoil that remains is far harder to work with and far less stable for construction.
Erosion control requires:
- Grading to break up long, uninterrupted slopes
- Installation of silt fencing or erosion blankets
- Strategic placement of drainage structures
Drainage Problems After Construction
One of the most frustrating scenarios: a home or structure was built without adequate grading, and now drainage problems are showing up years later. This happens when:
- Builders cut corners on site prep
- Heavy equipment compacted soil incorrectly
- Original grading eroded over time
Correcting post-construction drainage issues is significantly more complex than getting it right at the start. Landscaping, existing structures, and buried utilities all constrain what can be done.
Pro Tip: If you are purchasing land or a home and see signs of poor drainage, factor significant grading correction costs into your offer. Getting a professional assessment before closing can save you tens of thousands of dollars.
DIY Land Grading vs. Professional Grading: What Is the Real Difference?
| Factor | DIY Grading | Professional Grading |
|---|---|---|
| Equipment used | Shovels, hand tamper, rakes | Skid steers, graders, compactors |
| Slope accuracy | Eyeballed or basic level | Laser-level and grade stakes |
| Soil compaction | Manual (inconsistent) | Mechanized plate compactor |
| Best for | Filling small ruts, minor slope corrections | Foundation prep, driveways, drainage systems |
| Risk of settling | High on larger areas | Low when done correctly |
| Permit required? | Usually no | Often yes for significant grading |
| Timeline | Half a day to a weekend | Hours to days depending on scope |
| Cost to correct mistakes | Can be expensive | Built into the job |
The math on DIY grading often looks good on paper until something goes wrong. A homeowner who spends $300 in topsoil and a weekend of labor, then ends up with a drainage problem that floods their garage, is looking at a repair bill that could exceed $5,000 to $15,000 depending on the extent of the damage.
How Does Poor Grading Cause Drainage Issues That Spiral Into Bigger Problems?
This is the part that most DIY guides do not talk about honestly.
Land grading and drainage are connected systems. Grading controls where water goes on the surface. Drainage infrastructure controls where it goes below the surface. When grading is off, it overloads drainage systems that were never designed to handle the volume. When drainage fails, it saturates soil that then loses its load-bearing capacity.
Here is the cascade:
- Poor grading causes water to pool near a structure
- Pooled water saturates the surrounding soil
- Saturated soil loses compaction and begins to shift
- Shifting soil creates uneven pressure on foundations, driveways, and buried utilities
- Cracks, settling, and structural damage follow
Every major foundation repair project I have ever seen traced back to an unaddressed land grading or drainage problem that was ignored or patched incorrectly in the first place.
This is why getting grading right before construction begins is not optional. It is the entire foundation (literally) of every project that follows.
What Equipment Is Needed for Proper Land Grading?
For any project beyond minor surface corrections, these are the tools professionals use and why hand tools cannot replicate their results:
Skid Steer Loader
Moves large volumes of soil quickly and precisely. Attachments like grading buckets allow operators to feather finish grades within fractions of an inch. Cannot be replicated manually on any scale.
Motor Grader
Used on larger sites and road prep. Creates long, consistent slopes across wide areas. The machine most people picture when they think of road grading.
Plate Compactor
Compresses soil layers after moving to prevent future settling. This is the step DIY projects almost universally skip, and it is the reason DIY grading often fails within a season.
Laser Level / Grade Control System
Modern excavation uses GPS-guided grade control or laser transit systems to hold precise elevations across an entire site. This is how contractors achieve consistent drainage slopes over hundreds or thousands of square feet.
Note: Renting a skid steer without experience operating heavy equipment is genuinely dangerous. Equipment rental companies will rent to anyone, but that does not mean anyone should be operating a machine that can move thousands of pounds of material in seconds. If you are not trained on the equipment, hire the operator.
How Does the Dotts 3M Method Approach Land Grading and Drainage?
At Dotts Construction, we developed what we call the Dotts 3M Method for every site prep project. It has three phases:
1. Measure. We do not start moving dirt until we have a complete picture of the site. This means elevation surveys, soil assessment, and drainage modeling so we know exactly where every gallon of water will go after we finish.
2. Map. Every grading project gets a plan before equipment touches the ground. We identify cut zones (where soil comes out), fill zones (where it goes), compaction sequences, and drainage structure placements.
3. Move. Only then do we execute. Because we have measured and mapped first, the actual grading work is precise, efficient, and delivers results that hold up long after we leave the site.
This approach eliminates the most common contractor failure: showing up, moving dirt by feel, and leaving the homeowner to discover drainage problems three rainstorms later.
What Permits Do You Need for Land Grading Projects?
This is the question most homeowners never think to ask until they are already in trouble.
Permit requirements vary significantly by municipality, but as a general guide:
- Minor yard grading (filling low spots, re-sloping beds): Usually no permit required
- Grading that alters drainage patterns affecting neighboring properties: Permit typically required
- Grading greater than 50 cubic yards of soil movement: Permit required in most jurisdictions
- Grading within 50 to 100 feet of a wetland or waterway: Permit required in virtually all jurisdictions and may involve state or federal oversight
- Any site work connected to new construction: Grading is typically covered under the building permit but must be inspected separately
Pro Tip: Call your local building department before starting any grading project. Unpermitted grading that affects neighboring drainage can result in stop-work orders, mandatory restoration, and liability for damage to adjacent properties.
When Should You Hire a Professional for Land Grading and Drainage Issues?
Hire a professional excavation contractor when any of these conditions apply:
- The project involves more than 10 cubic yards of soil movement
- You are prepping a site for any type of construction (foundation, driveway, garage, septic)
- You have identified negative grading near your foundation
- Water is pooling on your property and you do not know where it is going
- The site has significant slope, clay soil, or drainage structures that need to tie in
- Permits are required
- You have trees to remove before grading can begin
The cost of professional grading for a residential project typically ranges from $1,500 for minor corrections to $15,000 or more for full site prep, depending on lot size, soil conditions, and scope. According to HomeAdvisor's 2026 cost data, the national average for land grading sits around $2,500 to $5,500 for a standard residential lot.
That number is small relative to the cost of repairing a water-damaged foundation, a failed driveway base, or a septic system installed on improperly graded ground.
Frequently Asked Questions About Land Grading and Drainage
How much does it cost to regrade a yard for drainage?
Regrading a yard for drainage typically costs between $1,000 and $3,500 for a standard residential lot. Large lots, significant elevation changes, or projects requiring drainage infrastructure like French drains or catch basins will push costs higher. Getting two to three contractor quotes gives you a realistic baseline for your specific site.
How do I know if my yard has a drainage problem?
You have a drainage problem if water pools in your yard for more than 24 hours after rain, if your basement or crawl space shows signs of moisture intrusion, if you see erosion channels forming after storms, or if the ground near your foundation stays perpetually wet. Any of these signs warrants a professional site assessment.
Can you regrade a yard without heavy equipment?
You can correct very minor slope issues (less than 2 to 3 inches over a small area) with topsoil and hand tools. Anything beyond that requires equipment for proper compaction. Without compaction, added soil will settle unevenly and often create new drainage problems within one to two growing seasons.
How much slope do you need for proper drainage?
The standard for positive drainage away from a foundation is a 2 percent slope (about 1 inch of drop for every 4 feet of horizontal distance) for the first 6 to 10 feet away from the structure. Open yard areas need at least a 1 percent slope to prevent standing water. These figures come from International Residential Code (IRC) grading requirements.
Does land grading require a permit?
It depends on your municipality and the scope of the project. Most jurisdictions require permits for projects that move more than 50 cubic yards of soil, affect drainage patterns that cross property lines, or occur within regulated distances of wetlands or water bodies. Always check with your local building department before starting.
What is the difference between grading and leveling?
Grading creates intentional slopes to direct water flow, while leveling creates a flat surface. Most construction projects need grading, not pure leveling, because a perfectly flat surface has no drainage path and water will pool on it. True leveling is only appropriate for specific applications like floor slabs with internal drainage systems.
How long does land grading last?
Professional land grading with proper compaction lasts indefinitely when maintained. Erosion, tree root activity, and settling can cause gradual changes over 10 to 20 years. Homes in areas with heavy clay soil may need grading touch-ups every 10 to 15 years. DIY grading without compaction may require correction within just 2 to 3 years.
What Should You Do Before Your Construction Project Gets Derailed by a Grading Problem?
The worst time to discover your land grading and drainage issues is after construction has started. By then, correcting the problem costs two to three times more than it would have upfront, and your timeline takes the hit.
Here is what to do right now:
- Walk your property after the next significant rain and note where water pools, where it flows, and whether any of it is moving toward your foundation or planned construction area.
- Get a site assessment before any construction begins. A professional grading contractor can identify problems in a single site visit that would take an untrained eye months to notice.
- Ask your contractor specifically about their grading process before signing anything. A contractor who cannot clearly explain how they handle drainage is a contractor who will leave you with drainage problems.
At Dotts Construction, we give every client a clear picture of their site before we move a single yard of dirt. You know what we are doing, why we are doing it, and what the result will look like. No vague estimates. No surprises. Just site work done right so your project can move forward.
Ready to get your site assessed? Call Dotts Construction or schedule your site consultation online. Request a free consultation or call (719) 280-4141
Related Guides
Need the pros? See Site Preparation & Grading. More reading:
About the Author
Michael Dotts brings over 15 years of hands-on experience in heavy construction and grading, with a specialty in the unique demands of building in the Rocky Mountains, where steep terrain, rocky ground, and harsh weather change the rules most flatland contractors are used to. Because Michael knows what it really takes to get the job done right in Colorado’s high country, you can count on honest, accurate quotes that won’t creep up halfway through the job.